Installation Guide
The following is a guide to get GSDM up and running in a Linux operating system. This is meant to be run on a fresh machine with no previously installed packages or GSDM versions.
Recommended Minimum System Requirements
For deployment of GSDM on a single server, the following are the bare minimum system requirements:
- 6GB of RAM, including swap space.
- 2.2GHz processor. (Additional processing power may be required for multiple concurrent map renderings and R processing)
- 1 GB software disk usage.
- Additional disk space for any data hosted with GeoServer, database, user uploads and outputs. For spatial data, cached tiles, and files useful for R processing, a decent baseline size for GSDM deployment is 100GB.
- 64-bit hardware recommended.
Software Requirements
The current GSDM release has been tested on a server meeting the following requirements:
- Ubuntu 16.04 64 bit server edition.
- GeoServer 2.14
- R version 3.4.4
- Postgresql 9.5
- Postgis 2.2
- Apache2
- libapache2-mod-wsgi
- Git
- Python-django
- Python-psycopg2
Python Packages (requirements.txt)
- Django==1.8.19
- Fiona==1.7.13
- GDAL==2.1.2
- gsconfig==1.0.10
- psycopg2==2.7.3.1
R packages
- raster
- SurfaceTortoise
- mapsRinteractive
Ubuntu Deployment
The steps to deploy GSDM in a Ubuntu 16.04 machine are as follows:
Clone the GSDM git repository:
git clone https://github.com/locus-geosystems/gsdm.git
Create a python 2.7 virtualenv and install the requirements.txt:
$ virtualenv --python=/usr/bin/python2.7 env
$ source env/bin/activate
$ cd gsdm/gsdmapp
$ pip install -r requirements.txt
Set up the GSDM data directories:
$ cd /var/www/html/
$ sudo mkdir -p gsdm gsdm/data gsdm/data/samplingout gsdm/data/adaptationout gsdm/uploaded gsdm/uploaded/shapefiles
$ sudo chown -R www-data:www-data gsdm/
$ sudo chmod -R 777 gsdm/
Create the GSDM database and enable the spatial extension:
sudo -u postgres createdb gadm
sudo -u postgres psql -d gadm
CREATE EXTENSION postgis;
Load data into the GSDM database:
Download and extract this

https://www.dropbox.com/sh/l4glpqeod7sdr62/AACTM0PEIDjpeVevkqP9HeF2a?dl=0

Go to folder gadm and run the following commands

shp2pgsql -I gadm0.shp gadm0 | psql -U postgres -d gadm
shp2pgsql -I gadm1.shp gadm1 | psql -U postgres -d gadm
shp2pgsql -I gadm2.shp gadm2 | psql -U postgres -d gadm
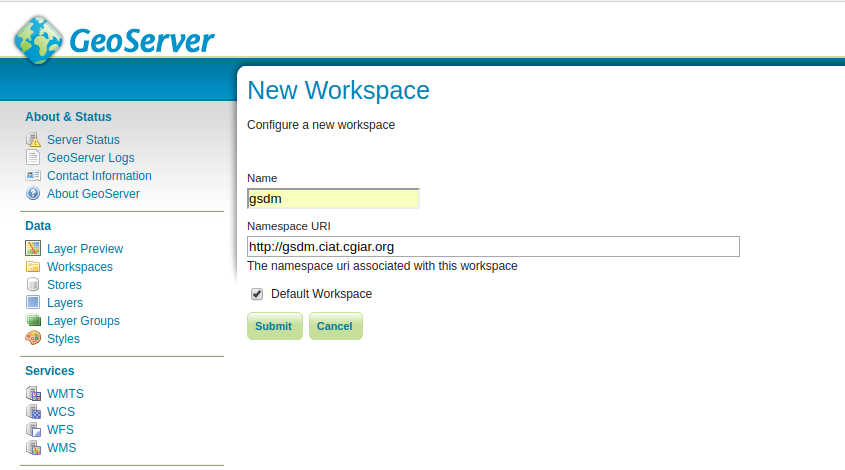
Create the GSDM workspace in GeoServer.
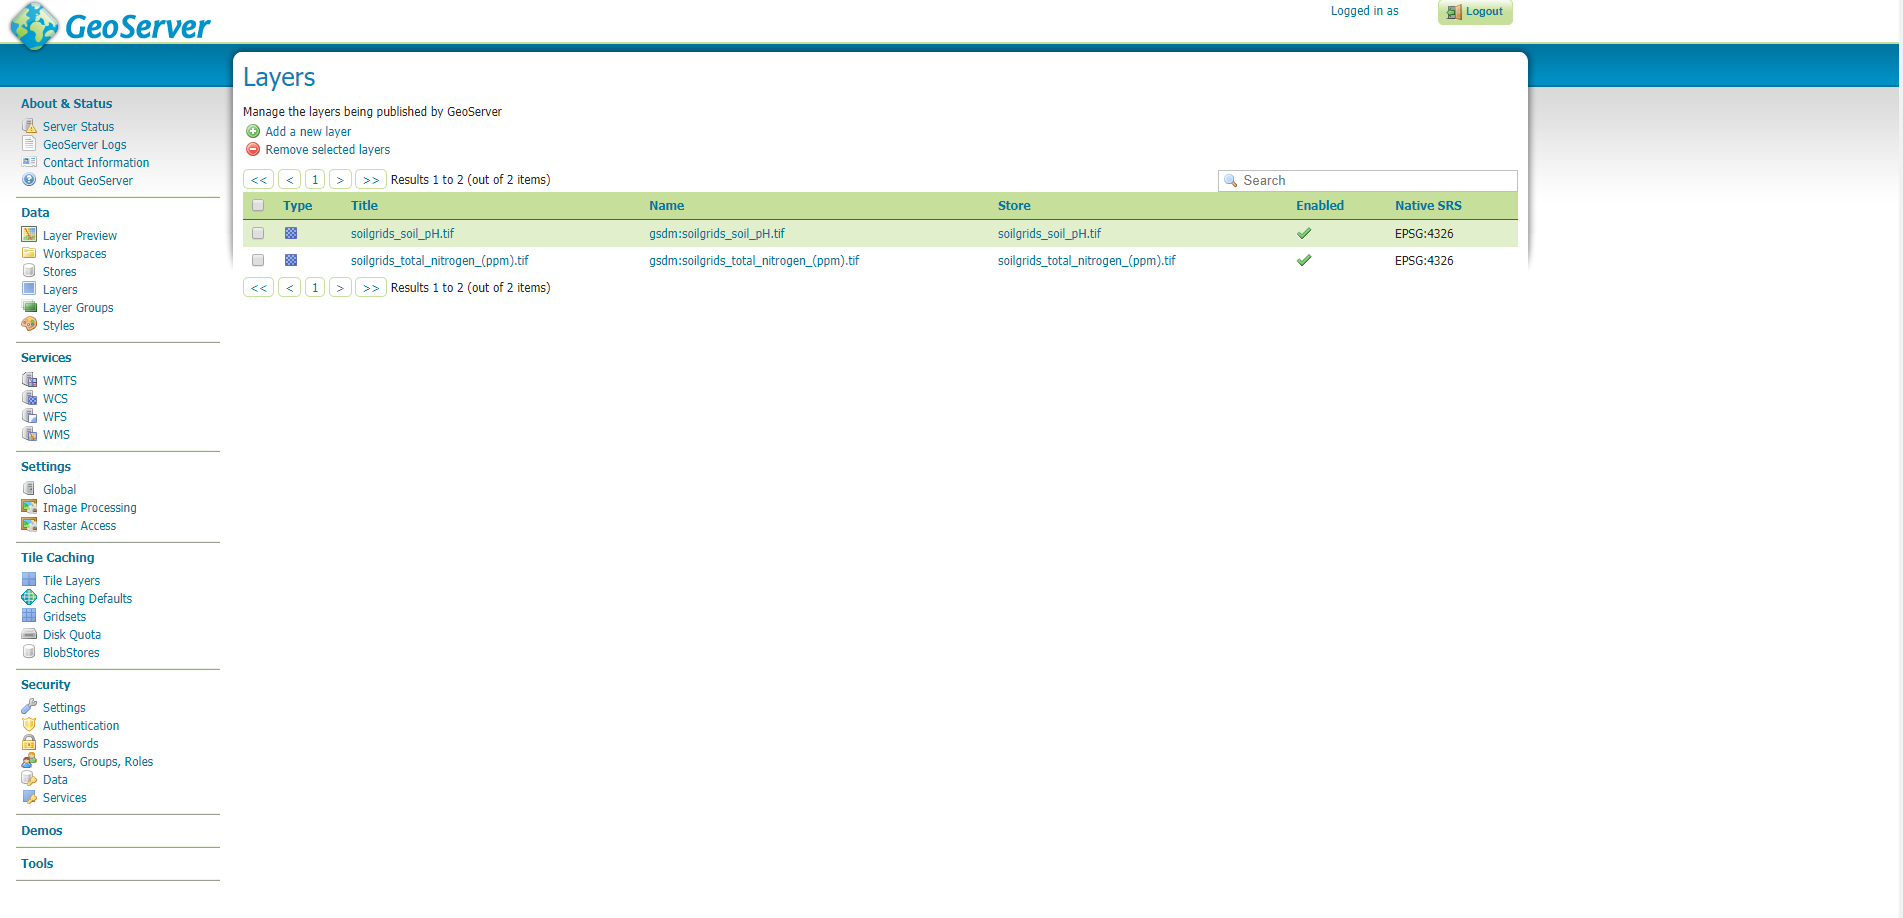
Publish GSDM soil background maps to GeoServer as WMS layers:
Go to the 'agg_4326' folder obtained from downloading and extacting

https://www.dropbox.com/sh/l4glpqeod7sdr62/AACTM0PEIDjpeVevkqP9HeF2a?dl=0

Activate virtualenv

$ python /home/ubuntu/gsdm/scripts/publish_layer.py Soil_Carbon_0_30_250m_4326.tif

where 'Soil_Carbon_0_30_250m_4326.tif' is an example of tif file that is found inside the folder
Set up and enable the Apache2 virtualhost configuration for the GSDM web interface:
  $ sudo vim etc/apache2/sites-available/gsdm.conf

  WSGIPythonPath /home/ubuntu/gsdm/gsdmapp/:/usr/local/lib/python2.7/dist-packages
  <VirtualHost *:80>
  ServerName localhost
  ServerAdmin admin@gsdm.ciat.cgiar.org

  ErrorLog /var/log/apache2/error.log
  LogLevel warn
  CustomLog /var/log/apache2/access.log combined

  WSGIPassAuthorization On
  WSGIScriptAlias / /home/ubuntu/gsdm/gsdmapp/gsdmapp/wsgi.py

  <Directory "/home/ubuntu/gsdm/gsdmapp/gsdmapp/">
          <Files wsgi.py>
                  Order deny,allow
                  Require all granted
          </Files>
  </Directory>

  <Directory /home/ubuntu/gsdm/gsdmapp/gsdmapp/static/>
  Options Indexes FollowSymLinks
  AllowOverride None
  Require all granted
  IndexOptions FancyIndexing
  </Directory>


  <Directory /home/ubuntu/gsdm/docs/_build/html/>
    Options Indexes FollowSymLinks
    AllowOverride None
    Require all granted
    IndexOptions FancyIndexing
</Directory>

  <Directory "/var/www/html/gsdm/uploaded/">
    Options Indexes FollowSymLinks
    AllowOverride None
    Require all granted
    IndexOptions FancyIndexing

  </Directory>


  <Directory "/var/www/html/gsdm/data/">
    Options Indexes FollowSymLinks
    AllowOverride None
    Require all granted
    IndexOptions FancyIndexing

  </Directory>


  ScriptAlias /cgi-bin/ /usr/lib/cgi-bin/
  <Directory "/usr/lib/cgi-bin">
          AllowOverride None
          Options +ExecCGI -MultiViews +SymLinksIfOwnerMatch
          Order allow,deny
          Allow from all
  </Directory>

  Alias /static/ /home/ubuntu/gsdm/gsdmapp/gsdmapp/static/
  Alias /uploaded/ /var/www/html/gsdm/uploaded/
  Alias /outputs/ /var/www/html/gsdm/data/
  Alias /docs/ /home/ubuntu/gsdm/docs/_build/html/


  </VirtualHost>

  $ sudo a2ensite gsdm.conf
Install required R packages:
$ Rscript /home/ubuntu/gsdm/scripts/installer.R
Enable the www-data user to run Rscript as local user by adding the following line to /etc/sudoers file:
www-data ALL=(ubuntu) NOPASSWD: /usr/bin/Rscript
Copy two tif files of 4326 and 3857 projections into /var/www/html/gsdm/data/ ending with ‘_4326.tif’ and ‘_3857.tif’ respectively
Copy script packages
cp /home/ubuntu/gsdm/r_example/scripts/ /var/www/html/gsdm/data/
Create local settings file.
$ cp /home/ubuntu/gsdm/gsdmapp/gsdmapp/local_settings_example.py /home/ubuntu/gsdm/gsdmapp/gsdmapp/local_settings.py
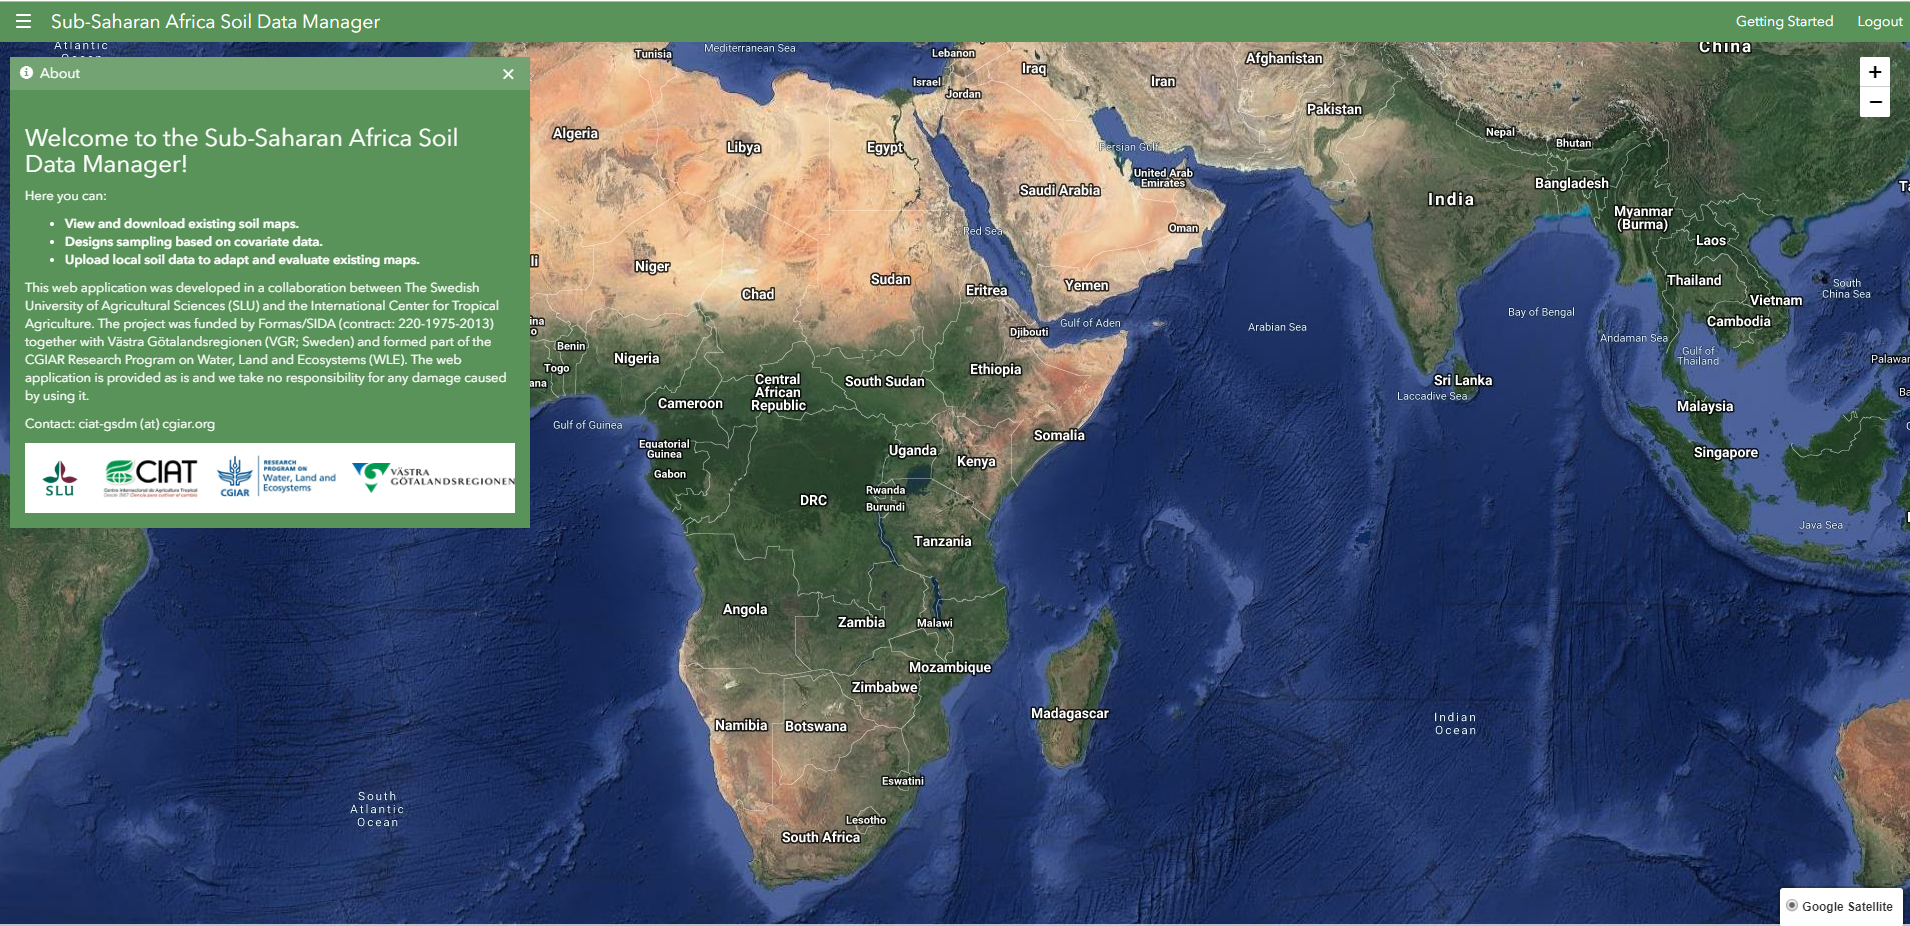
Access GSDM web interface from your web browser, using the server address from step 7 above. The GSDM home page should be displayed.